Complete Guide: Installing and Configuring Python 3 on Windows 11
This guide will walk you through installing Python 3 on Windows 11, adding it to PATH, and verifying the installation using PowerShell. By the end, you’ll be able to run Python scripts and check your installation with simple commands.
Open your web browser and go to the official Python website: https://www.python.org/downloads/
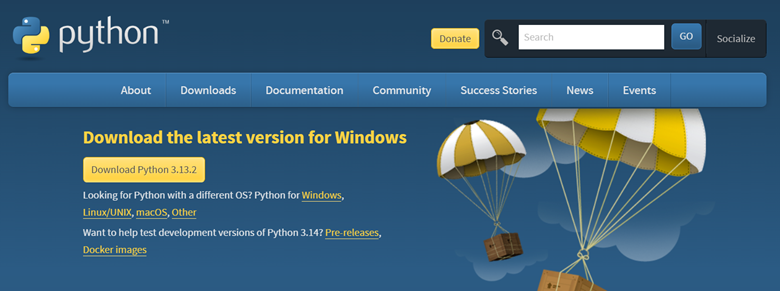
Click the “Download Python 3.x.x” button under “Download the latest version for Windows” (this will download the latest stable version).
Open your downloads folder, then double click on the installer “python-3.x.x-amd64.exe”.
Once the installer is open:
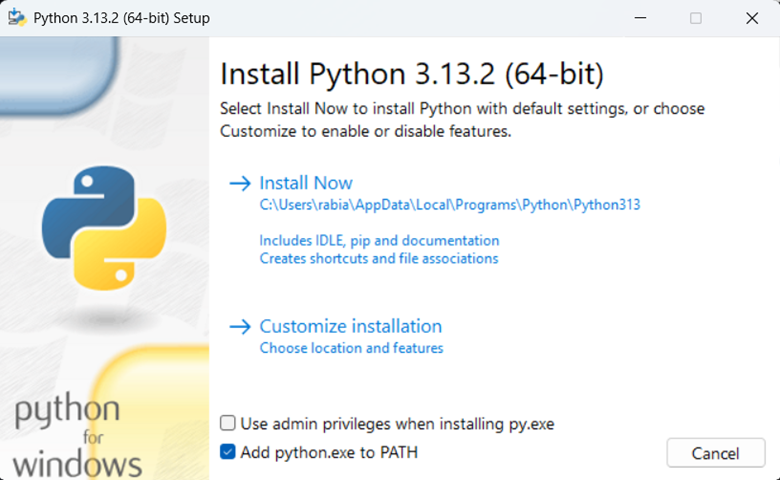
- Check “Add python.exe to PATH”.
- Write down the PATH where Python is installed. This is shown under “Install Now”. For example:
C:\Users\rabia\AppData\Local\Programs\Python\Python313*Important* - Click “Install Now”.
Open PowerShell.
Run the command python --version or python3 --version.
If your output is something like “Python 3.x.x” then Python was installed and configured correctly. You are good to go! 😊

If your output is something like “Python was not found …” or “Python is not recognized …”, restart your computer and run python --version or python3 --version again. If it still does not work, move on to step 4 :(
Open Windows Search and type "Environment Variables", then select "Edit the system environment variables".
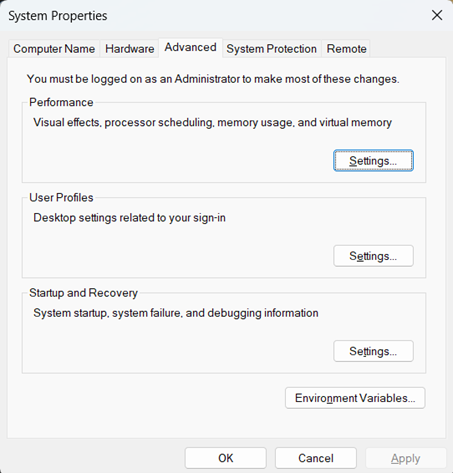
Select “Environment Variables” near the bottom of the screen.
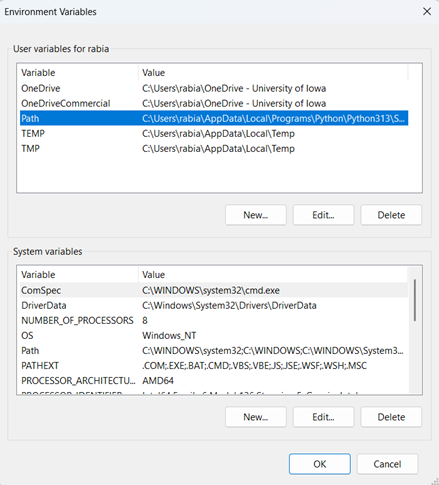
Double click “Path” under “User variables for your_username”.
Click “New”.
Write the PATH you recorded in Step 2, adding a “\Scripts” to the end of it. For example, if your path was C:\Users\rabia\AppData\Local\Programs\Python\Python313, then add: C:\Users\rabia\AppData\Local\Programs\Python\Python313\Scripts.
Restart your computer and run python --version or python3 --version.